
Hãy để tuyết rơi!!!
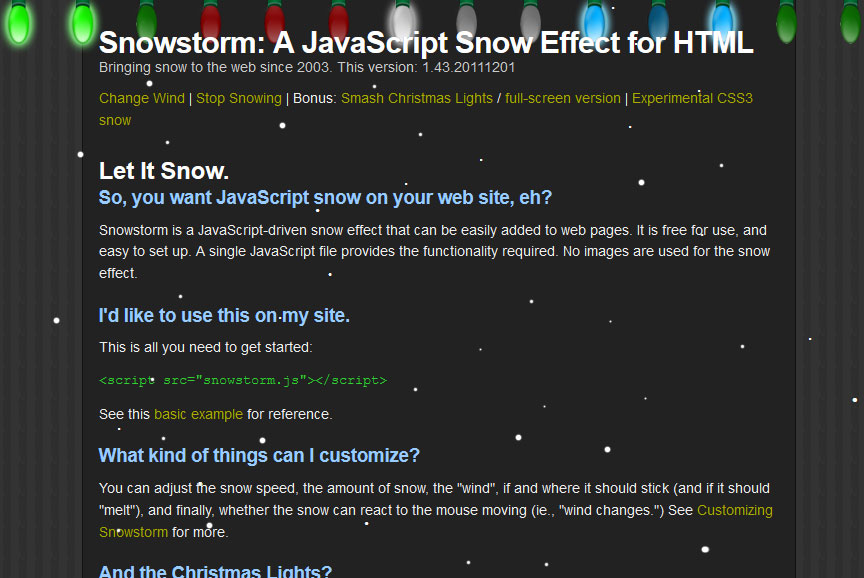
Snowstom là một hiệu ứng viết bằng javascript có thể dễ dàng thêm vào các trang web. Nó hoàn toàn miễn phí và rất dễ dàng thiết lập. Snowstom chỉ gói gọn trong 1 tệp tin js không sử dụng hình ảnh cho các hiệu ứng tuyết điều này giảm đáng kể dung lượng cho trang web.

Để sử dụng tất cả điều bạn cần làm là download file snowstorm về tại đây:
github.com/scottschiller/snowstorm/
hoặc tại trang web của tác giả: http://www.schillmania.com/projects/snowstorm/
Sau đó bạn upload file snowstorm.js lên hosting và chèn dòng mã sau vào trang web của bạn:
<script src="snowstorm.js"></script>
Bạn có thể tùy chỉnh tốc độ tuyết rơi nhanh hay chậm, số lượng bông tuyết rơi cùng lúc, tốc độ gió, hướng gió di chuyển theo chuột
Snowstom tương thích hầu hết các trình duyệt cũ (IE 5.x +, Netscape 6 +) cũng như các trình duyệt mới IE 6, 7, 8, Firefox, Safari, Opera.
Snowstom tương thích với các trình duyệt trên các thiết bị di động iPhone, iPad và Android. Tuy nhiên Snowstom sẽ ngốn nhiều CPU khi chạy vì vậy với các thiết bị di động các bạn có thể thiết lập snowStorm.excludeMobile = false để người dùng thiết bị di động khi vào trang web của bạn sẽ không bị treo máy, hao pin.
Tùy biến Snowstorm
Bạn có thể tùy chỉnh các hiệu ứng trong tệp snowstom.js hoặc bằng mã javascript trong trang web của bạn.
Ví dụ:
[html]
<!– required snowstorm JS, default behaviour –>
<script src="snowstorm.js"></script>
<!– now, we’ll customize the snowStorm object –>
<script>
snowStorm.snowColor = ‘#99ccff’; // blue-ish snow!?
snowStorm.flakesMaxActive = 96; // show more snow on screen at once
snowStorm.useTwinkleEffect = true; // let the snow flicker in and out of view
</script>
[/html]
Tham khảo một số thuộc tính và phương thức của snowstom bên dưới nhé:
Configurable Properties
Snowstorm can be fairly easily customized; some of the major properties are listed below.
snowStorm.autoStart = true;- Whether the snow should start automatically or not.
snowStorm.animationInterval = 33;- Theoretical “miliseconds per frame” measurement. 20 = fast + smooth, but high CPU use. 50 = more conservative, but slower
snowStorm.flakeBottom = null;- Limits the “floor” (pixels) of the snow. If unspecified, snow will “stick” to the bottom of the browser window and persists through browser resize/scrolling.
snowStorm.flakesMax = 128;- Sets the maximum number of snowflakes that can exist on the screen at any given time.
snowStorm.flakesMaxActive = 64;- Sets the limit of “falling” snowflakes (ie. moving on the screen, thus considered to be active.)
snowStorm.followMouse = true;- Allows snow to move dynamically with the “wind”, relative to the mouse’s X (left/right) coordinates.
snowStorm.freezeOnBlur = true;- Stops the snow effect when the browser window goes out of focus, eg., user is in another tab. Saves CPU, nicer to user.
snowStorm.snowColor = '#fff';- Don’t eat (or use?) yellow snow.
snowStorm.snowCharacter = '•';- • (•) = bullet. · entity (·) is not used as it’s square on some systems etc. Changing this may result in cropping of the character and may require flakeWidth/flakeHeight changes, so be careful.
snowStorm.snowStick = true;- Allows the snow to “stick” to the bottom of the window. When off, snow will never sit at the bottom.
snowStorm.targetElement = null;- Element which snow will be appended to (default: document body) – can be an element ID string eg. ‘myDiv’, or a DOM node reference.
snowStorm.useMeltEffect = true;- When recycling fallen snow (or rarely, when falling), have it “melt” and fade out if browser supports it
snowStorm.useTwinkleEffect = true;- Allow snow to randomly “flicker” in and out of view while falling
snowStorm.usePositionFixed = false;- true = snow not affected by window scroll. may increase CPU load, disabled by default – if enabled, used only where supported.
snowStorm.vMaxX = 8;
snowStorm.vMaxY = 5;- Defines maximum X and Y velocities for the storm; a random value in this range is selected for each snowflake.
Methods
Snowstorm has a few basic methods for controlling the snow effect.
snowStorm.randomizeWind()- Sets the wind speed with a random value relative to vMaxX and vMaxY properties.
snowStorm.freeze()- Stops the snow effect in place.
snowStorm.resume()- Continues snowing from a “frozen” state.
snowStorm.toggleSnow()- Enables or disables the snow effect depending on state, same as calling freeze() or resume().
snowStorm.stop()- Freezes and kills the snowstorm effect, and removes related event handlers. Snowstorm will not work properly if other methods are called after stop().
Rất đơn giản phải không nào. Xem demo của mình tại đây nhé: http://hanamonline.com/?s=snow khi nào thích xem tuyết rơi cứ vào trang của mình xem tự nhiên nha 🙂